- .box-4-multi-105{border:none !important;display:block !important;float:none;line-height:0px;margin-bottom:15px !important;margin-left:0px !important;margin-right:0px !important;margin-top:15px !important;max-width:100% !important;min-height:250px;min-width:250px;padding:0;text-align:center !important;}Step 1: Add Conductive Tape to Cover
- Step 2: Add Conductive Tape to Caliper
- Step 3: Insulate and Place Battery
- Step 4: Done
Digital calipers that are cheap can be found almost everywhere but they may not be as beautiful or precise as Mitutoyo Calipers, but If they’re affordable then what’s not to enjoy? The battery’s lifespan. The battery is drained by these things even after pressing”off. This guide will explain how to alter the cover on the battery to ensure it functions as a switch, so the battery is removed from the power circuit.
Tools:
- Digital Caliper
- Scissors
- Tweezers
Materials:
- Copper Tape
Step 1: Add Conductive Tape to Cover
The cover of the battery slides as a switch, however, it is not conducive. In order to make it behave as an actual switch, it is placed underneath the cover in a way that it is in contact with the surface of the batteries. It extends from the underside of the cover, around the sides, and then over the top of the cover, slightly.
- Put conductive copper tape underneath the cover of the battery.
- The tape should be wrapped over the edge over the entire cover.
Step 2: Add Conductive Tape to Caliper
Contacts on the cover’s sliding surface will need to contact another part of the conductive tape in order to finish the circuit. In this stage, you must complete the path using a different sheet of electrical tape that will lead the battery housing’s side contacts to a point where the cover of the battery will meet.
- Trim conductive tape into a point.
- Place tape on the contact on the battery housing’s side.
- The tape can be bent into a position using Tweezers.
- Cut until the contact wraps around the edge of the battery housing.
Step 3: Insulate and Place Battery
Before putting the battery back in the housing, you must separate it from side contacts by putting the non-stick backing of the conductive tape directly in front of the housing’s contacts on the sides. This will stop this circuit from getting complete unless the cover for the battery is placed on.
- Install the backing material of the conductive tape into the battery housing on top of the side contacts.
- Install the battery in the housing.
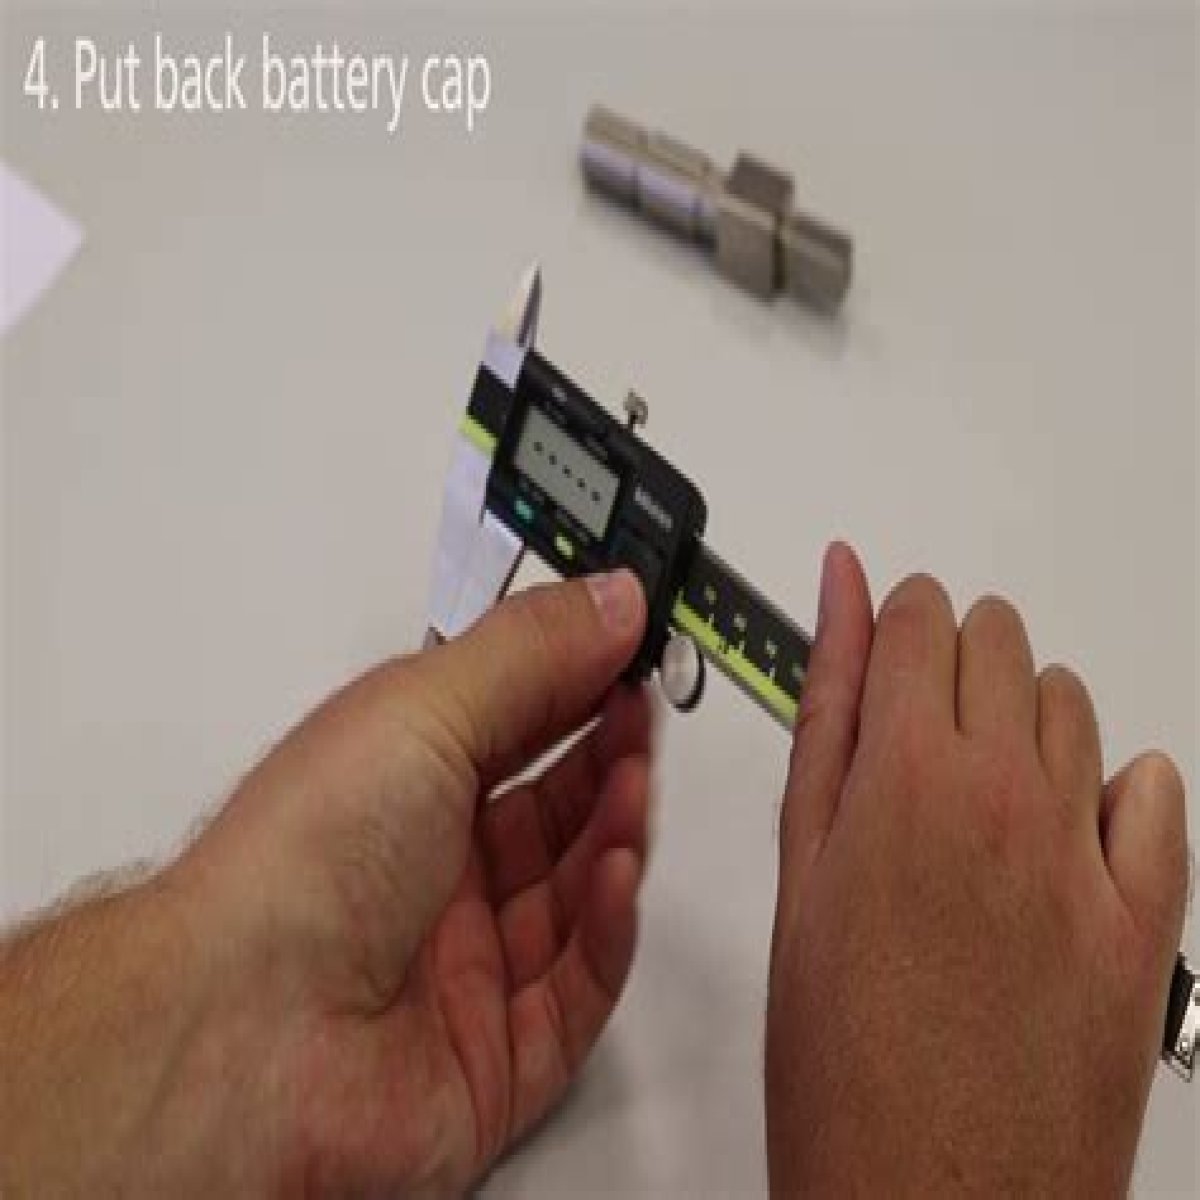
Step 4: Done
In this process, use the calibrator.
There is a tiny distance between these two contacts due to the fact that the cover of the battery is slightly off and the caliper also is powered off.
- The covers are fully slid on, which means there is no more space between the two contacts. The caliper is turned on.
